
Adding Custom Templates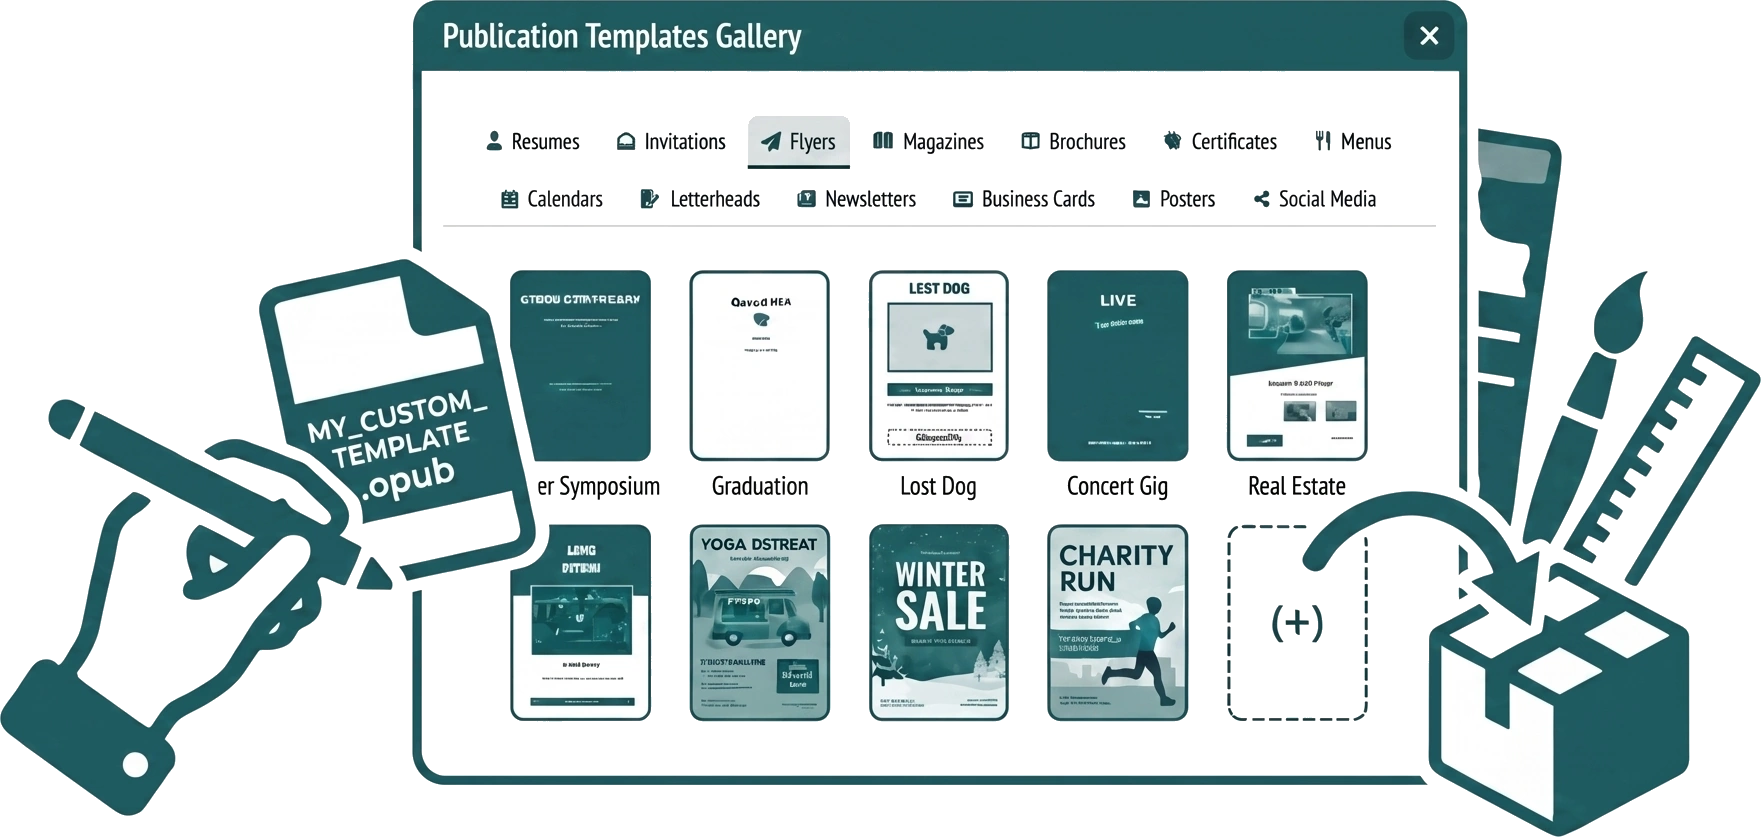
If you are self-hosting Open Publisher, you can add your own custom templates to the Publication Templates Gallery. Because templates use a modular architecture, you can add as many as you like without ever needing to modify the core JavaScript bundle.
Step 1: Create your .opub File
-
Create a new publication in the editor and design your template.
-
Export your work and save it as an .opub file.
-
Place this file into the elements/templates/files/ directory on your server.
(Example: elements/templates/files/my_custom_flyer.opub)
Step 2: Register the Template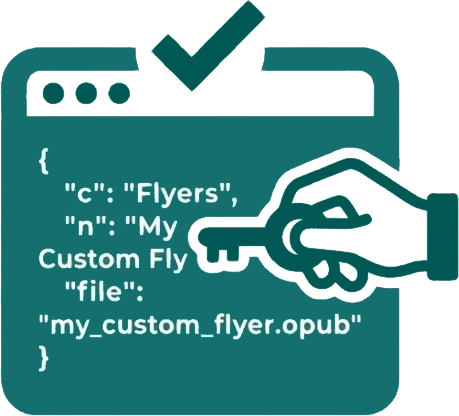
Next, open the elements/templates/template-index.json file in a text editor. Add a new JSON entry for your template using the following keys:
{
  "c": "Flyers",
  "n": "My Custom Flyer",
  "file": "my_custom_flyer.opub"
}-
c (Category) — The exact name of the Category tab the template should appear under (e.g., “Flyers”, “Resumes”, “Business Cards”).
-
n (Name) — The human-readable display name for the template.

-
file (Filename) — The exact filename of your .opub file.
Step 3: Refresh the Gallery
Reload Open Publisher and open the Publication Templates gallery. Your new template will automatically appear in the grid under the assigned category, complete with an auto-generated page size badge, and will load flawlessly when clicked.