
Cropping & Compressing Images
Open Publisher’s image tools include a non-destructive cropping system and a built-in compression utility, letting you frame your photos perfectly and keep your document file size under control.
Image Cropping
The cropping tool lets you non-destructively trim an image to show only the part you want, while keeping the original file intact.
To crop an image:
-
Select the image on the canvas.
-
In the Picture Tools contextual ribbon, click Crop.
-
The element enters crop mode: black crop handles appear at the edges and corners. Drag them inward to set the visible area.
-
While in crop mode, you can also click and drag the image itself to pan it within the crop frame – repositioning the content without changing the frame boundaries.
-
Click anywhere outside the element (or click the Crop button again) to confirm the crop and exit crop mode.
The crop parameters – frame position, image pan offset, and zoom – are all saved into the element’s data and persist across undo/redo and save/load cycles. The print engine honours your exact crop settings and does not reset to the full image during printing.
Crop to Shape
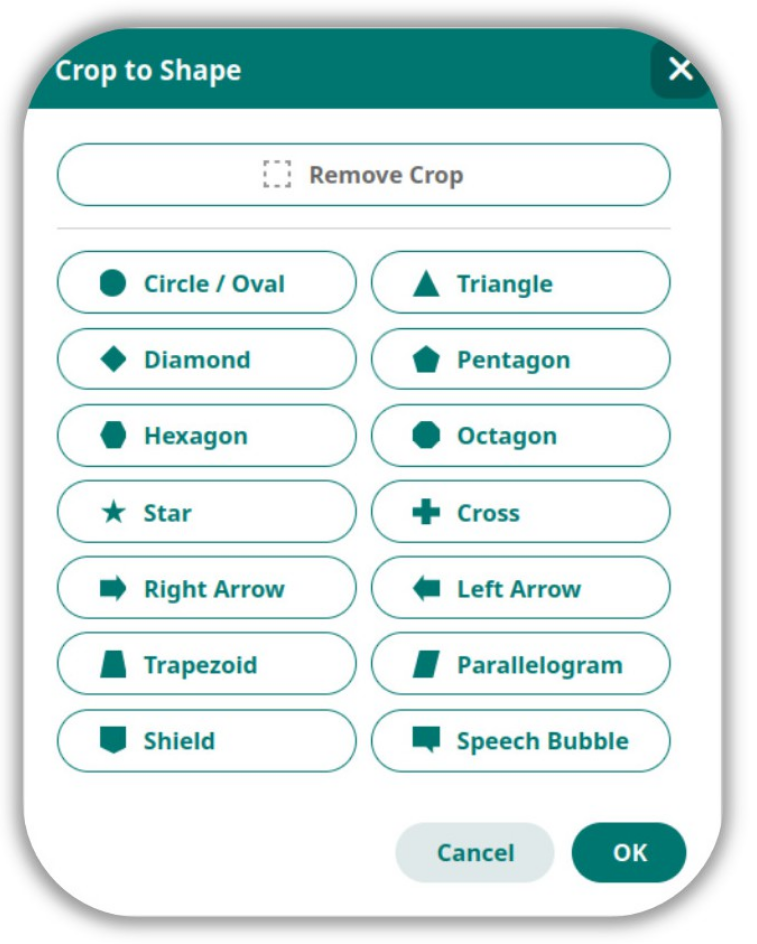
In addition to rectangular cropping, Open Publisher can clip any image to a custom shape. The shape library includes 14 options: circle, star, triangle, heart, diamond, pentagon, hexagon, octagon, cross, arrows, trapezoid, parallelogram, shield, and speech bubble.
To apply a shape crop:
-
Select the image on the canvas.
-
In the Picture Tools ribbon, click Shape Crop (or select it from the right-click context menu).
-
Choose a shape from the one-click button grid. The interface features a 2-column grid with built-in preview icons – simply click your desired shape to instantly apply the crop and close the dialog.
Note on existing documents: If older documents contain shape crops saved before version 4.13.20, re-apply the shape via Picture Tools > Shape Crop to force the updated data into the file.
Compressing Pictures
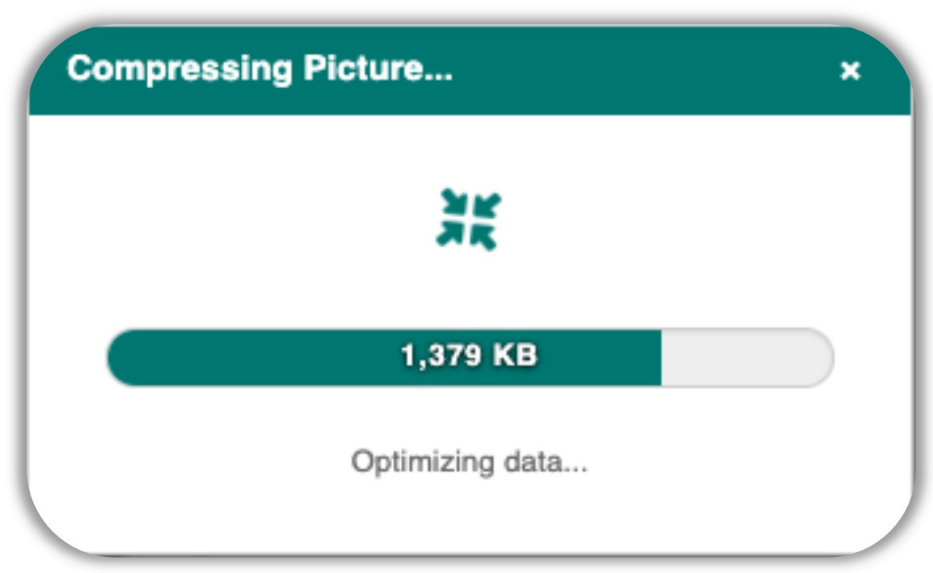 To reduce the file size of your .opub document, use the Compress tool to reduce the embedded size of large image files without significantly affecting their visible quality.
To compress a picture:
-
Select the image on the canvas.
-
In the Picture Tools ribbon (or under Adjust in the Insert ribbon), click Compress.
-
A modal appears with a live progress bar tracking the estimated size reduction in real time.
-
When complete, the image in the document is replaced with the compressed version.
The compression tool includes built-in safeguards:
-
If the image is already fully optimised, a dialog appears explaining it cannot be reduced further – no redundant processing occurs.
-
If an unsupported element type is selected (such as Clipart, WordArt, or a vector Shape), the tool halts and displays a clear “Not Supported” message rather than failing silently.